GET YOUR SETTINGS DIALED
Go to Settings > Camera on your iPhone.
Use These Settings or as close as possible. If you do not have the exact setting, use the highest setting.Record Video: 4K at 60 fps >
Show PAL Formats: Off
Enhanced Stabilization: On
Action Mode Lower Light: Off
HDR Video: Off
Auto FPS: Off
Lock Camera: On
Lock White Balance: Off
Record Slo-mo: 1080p at 240 fps
Record Cinematic: 4k at 30 fps
Formats >
Camera Capture: High Efficiency
Photo Capture:
ProRAW & Resolution Control: Off
Video Capture:
Apple ProRes: Off
Preserve Settings >
Camera Mode: On
Creative Controls: Off
Depth Control: Off
Macro Control: Off
Exposure Adjustment: Off
Night Mode: Off
Portrait Zoom: Off
Action Mode: Off
Live Photo: Optional
Record Stereo Sound: On
Use Volume Up for Burst: Optional
Scan QR Codes: On
Show Detected Text: On
Composition
Grid: On
Level: On
Mirror Front Camera: Off
View Outside the Frame: Off
Photo Capture
Photographic Styles: Normal
Prioritize Faster Shooting: On
Lens Correction: On
Macro Control: On
CAMERA TOOLS WHILE FILMING
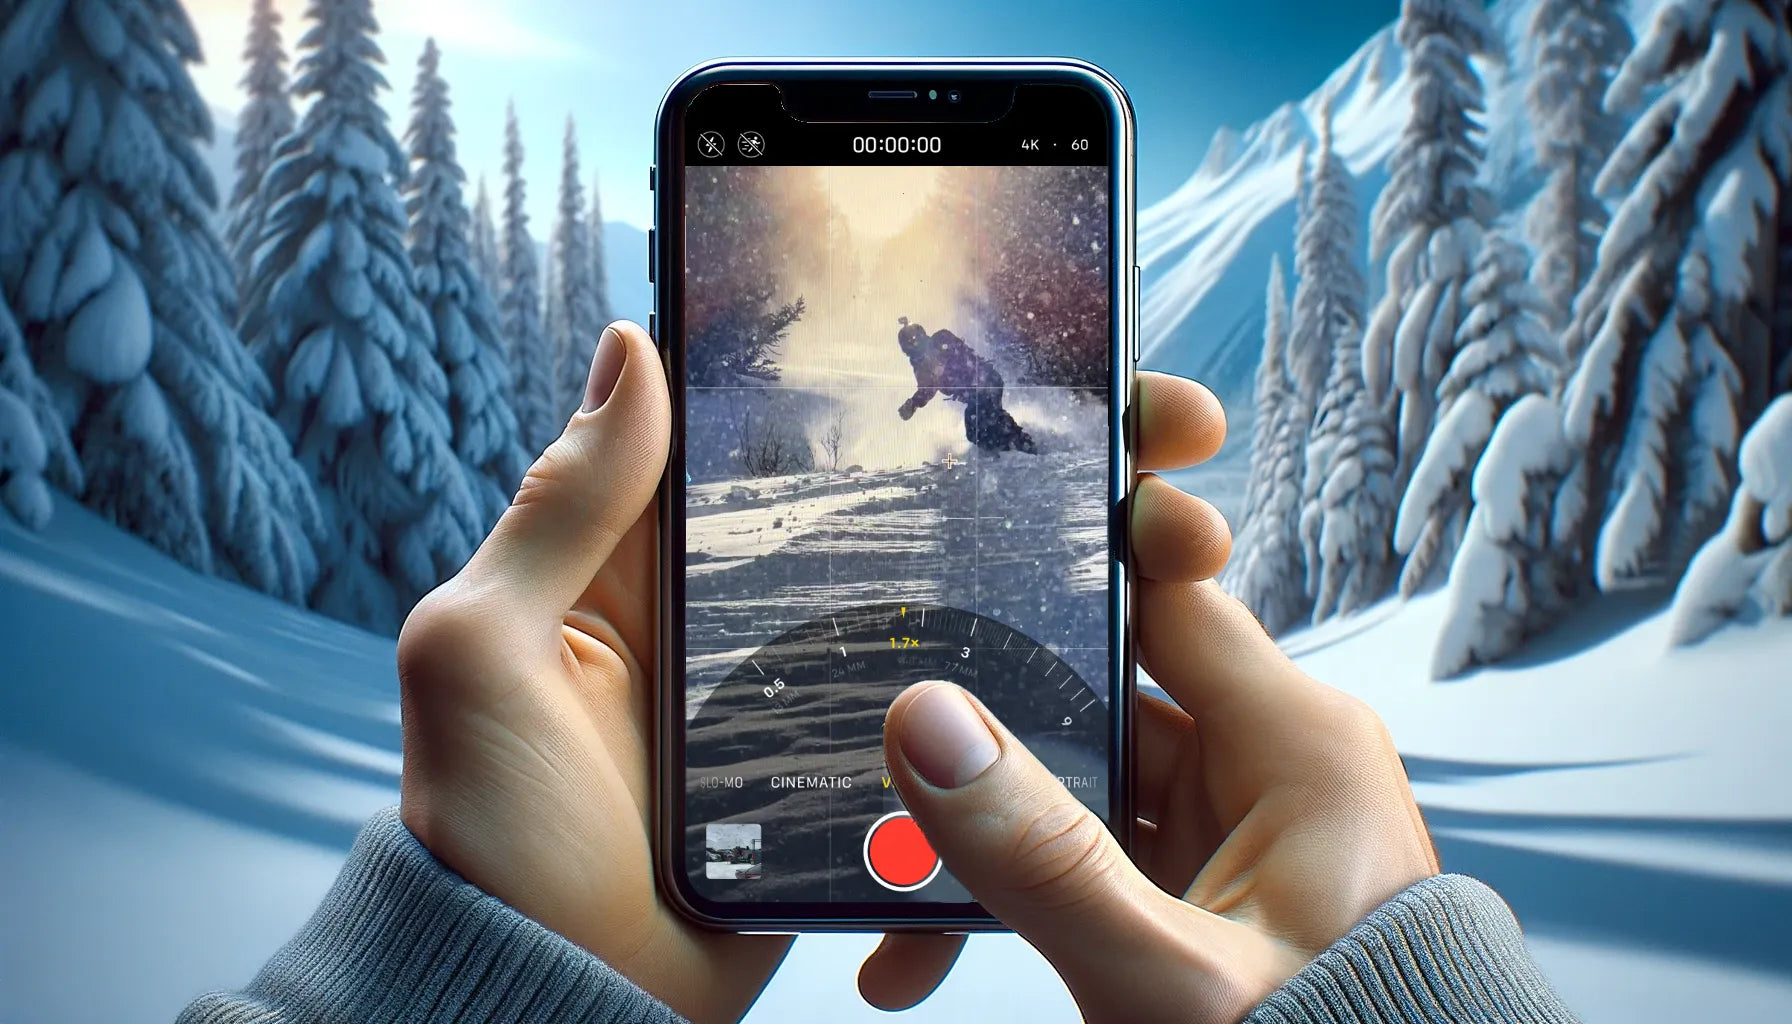
Zoom:
Use the Zoom Wheel while filming to keep your subject in the frame and not too far away. When starting to film a rider, start on which zoom setting will fill the frame with your rider without being so zoomed in that would cut off a part of the rider with the edge of the video.
On iPhone models with Dual and Triple camera systems, switch between 0.5x, 1x, 2x, 2.5x, 3x, and 5x to quickly zoom in or out (depending on your model).
For a more precise zoom OR zooming while filming, touch and hold the zoom controls, then drag the slider right or left.

The zoom slider takes a little practice and makes zooms more fluid and easier for you to keep the subject in frame.
How close should I be to my subject?
You should get as close as you are comfortable or able to. Just remember, as a videographer on the mountain it is 95% of the time your responsibility if you or your camera gets hit by your subject or another person on the mountain, yes, even if they run into you. If you are “Posting up” on a feature while your subject is lapping or hiking, stay out of all possible landings or take-offs. Even if you don’t see it as a landing or take off, someone might, so be careful!
If you are follow-caming your subject, use .5x or 1x and try to hold your arm as steady as possible with the camera pointing at your subject as you follow them down their line. If you are confident in riding closer, use .5x, if you think you may lose distance or want to keep a little more distance, use 1x. Do not follow-cam at further than 20-25 ft from your subject.
Should I take stationary videos or follow-cam videos?
This all depends on your riding skill/multi-tasking while riding skills. If you feel comfortable/safe to hold the camera while following a rider down with their 20 ft proximity and peek at your screen every few or more seconds, yes, you should follow-cam. This can even be for one feature and as you get practice in, you will be able to film longer lines with the rider.
If you are not comfortable with follow-caming, OR if you are getting lots of content throughout the day. Get stationary footage. Stationary footage is still amazing and is needed. To get the best stationary footage on hill there are specific positions that can help the shot which we will get into next.
Where should I stand next to a feature?
You want to be in the best position to be able to see take-off, the feature, and landing. The landing is more important than the take-off when you don’t have a choice for both. If the rider is trying the same trick multiple times on the same feature, mix up the angles and get both highlights of the take off and landing, this makes for good cuts when editing.
When filming features in snowboarding, there are positions that are better for rails, jumps, carving & lines, and halfpipes, so let's break each down real quick:
Tip: When choosing your position, communicate with the rider. You want their face towards the camera as much as you can during a trick. If they take off/land facing the same direction, be on the side of the feature that they face in the take off and landing if possible. If your angle focuses better on the landing rather than the take off, be on the side that the rider will be facing in the lander and vise-versa if you are focusing more on the take off. When follow-camming a line of multiple tricks, switch up sides for what side the rider will face on each feature for a really pleasant viewing experience.
Rails Positions:
Think of it like there is a giant rectangle around the rail. Try to stand in the corners of this rectangle while stationary shooting. Here is an example reference image.

The corners on the take-off sides of the rectangle (1 and 2) will focus on the riders take off more and the corners on the landing side (3 and 4) will focus on the landing more than the take-off.
In this example the best order of angles to choose are 1,4,2,3. This is because of how the feature is lit up. Having the sun behind the camera will always light the subject the best, this is not possible at all times, but as best practice, do not have the sun behind your subject, this will create a silhouette, and while it can be artsy, it will hide a lot of the rider in the shot.
Communicate with your subject, working with them will give you the best shot for both you and them. This may be needing to change up a trick or your angle.
Jump Positions:
Same rectangle concept here as with rails, but you can move further away as long as your zoom allows, if shooting from further distances, you need to remain at the elevation of the rider or atleast the knuckle of the jump, this can be on a side-hill or another nearby knuckle. That being said, follow-cams will be best, but second best will be stationary shots from the knuckle of the jump. Here is an example reference image.

Standing on the side/edge of the knuckle is your best choice (3 and 4). It is safest and gives you the best stationary angle for jumps.
Halfpipe Positions:
Follow-cams are super cool in the halfpipe, but challenging to achieve. When shooting halfpipe, you either should shoot stationary from the bottom, or from the deck of the halfpipe. Here is a reference image

When filming from the deck of the halfpipe (3 and 4) you want to position yourself on either where the rider is going to take off or going to land, communicate with the rider and watch their warm ups to see where they take off and land are key. When filming from the bottom of the halfpipe, position yourself just inside of being inline with one of the walls, so that you can still see both walls, but are off center (1 and 2).
Lines/Carving Positions:
Follow-cams and stationary shooting uphill at the rider are your best option for shooting carves and lines. Try and have no distractions in the background, this can be other people or even standout objects. Corduroy carves make for the best content and runs are empty in the early morning! If filming in potential avalanche conditions, do not film from the bottom, instead backup from the bottom or find a high point on the slope to film from.


