If this is the first time you’re getting familiar with splitboards, welcome to a part of the snow world most people don’t know much about. When snow lovers think of shredding powder, most people think they need to have a chairlift, gondola, snowcat or helicopter to do so.
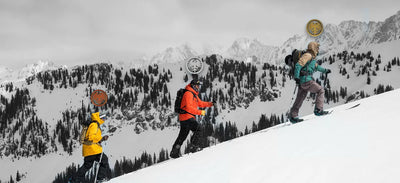
There’s one other option for those wanting to explore the backcountry—splitboarding. Splitboarding is a much more efficient way to travel in the backcountry than using snowshoes or hiking.
We’re going to go over how to set up a splitboard and all the pieces you need to set up your splitboard. It can seem daunting at first, but once you get the hang of splitboarding you’ll be addicted to those clean runs not spent dodging families and slower riders.
What is a Splitboard Snowboard?
A splitboard is a snowboard that can be split in half (the long way) and then put back together. Imagine a snowboard transforming into a pair of skis and then back into a snowboard. It’s basically a simpler version of Bumblebee for snow junkies.
Boarders choose to have a splitboard for longer travel days and avoid sinking into the snow. Splitboards are an improved version of a snowshoe and do a much better job floating on deep snow. This is why splitboards are the royals of backcountry snowboarding. You can get access to new runs and cruise back down board style.
Splitboards are ideal for riders looking for those backcountry experiences—if you’re not sure if a splitboard is right for you, click here for our ultimate guide on how to choose a snowboard.
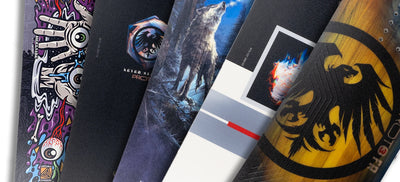
Never Summer has a range of splitboards for men and women:
Once you’ve grabbed your splitboard, it’s time to set it up.
What is the Best Splitboard Setup?
If you’re serious about finding your way to the backcountry—make sure to keep reading. The best splitboard set up is the one that allows you to change from touring mode to snowboard mode easily.
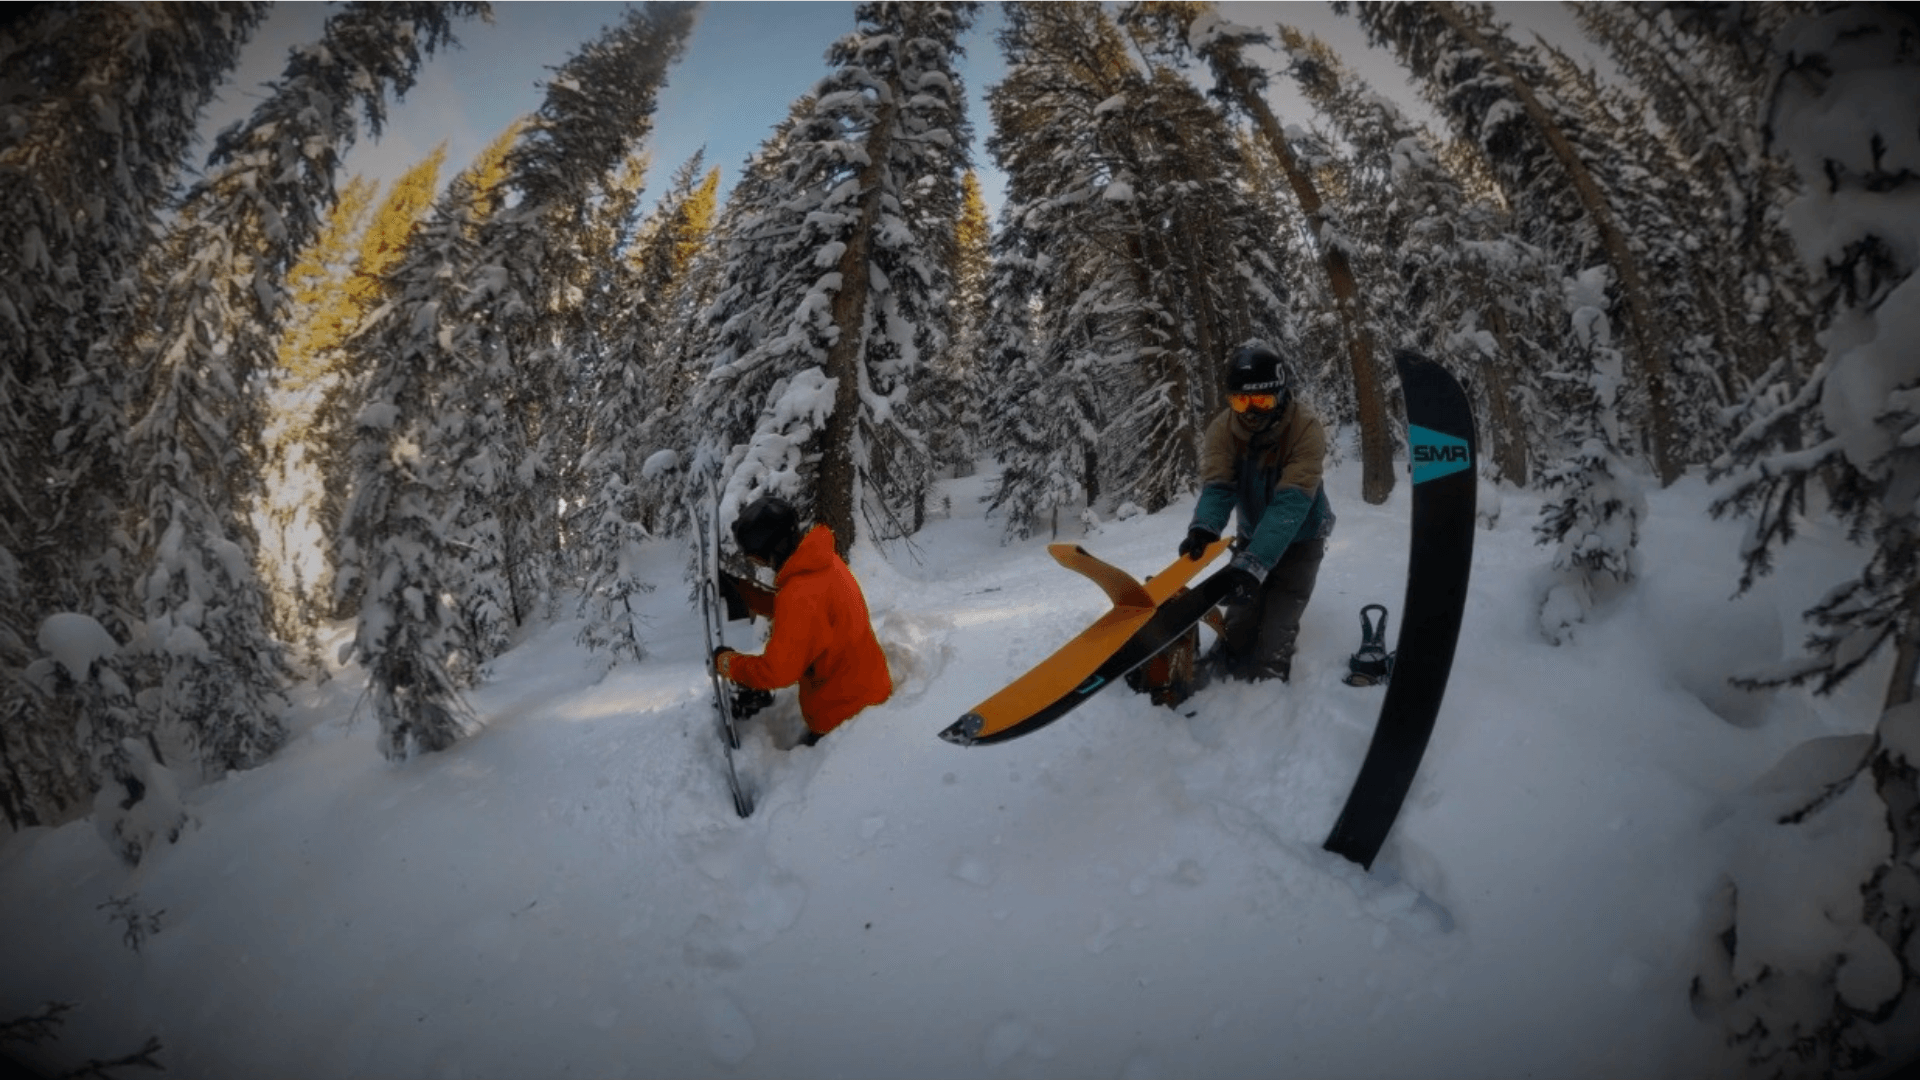
Your board is split in touring mode, and you’re using it like you would snowshoes. Your board is together in snowboarding mode, and you’re riding down the mountain as you would normally board.
The backcountry can be dangerous and unpredictable. Having the ability to switch into touring or snowboard mode is an important part of safety protocols. You want to need the least amount of critical thinking to switch between the two modes in case of an emergency so that you can focus on staying safe and out of harm’s way.
Splitboard Pucks (Discs)
Splitboard pucks attach to your bindings and the two parts of your board and allow you to drop in when you’re ready to board (vs. tour). There are a few types of pucks to choose from—here are the most popular options.
Types of Splitboard Pucks
- Voile
- Spark (also compatible with Voile)
- Karakoram
Make sure you’re using the same brand of pucks as your bindings (since they need to attach to each other). You can grab the Voile puck kit so you can use your regular bindings on a splitboard, but it will make your setup heavier and affect how you go down the mountain.
How to Set Up Splitboard Pucks
Splitboard pucks and bindings come with a jig and instructions for setting them up properly. You need to make sure these are set up just right, or else your board won’t line up correctly, and your bindings won’t fit properly.
Trust us when we say there’s nothing fun about making your way up a huge snow hill only to have to fix your system. You know how cold your fingers get up on the mountain—trying to get them to fix a messed up set up is not how you want to experience the backcountry.
Splitboard Bindings
Splitboard bindings differ from other board bindings. Splitboard bindings have grooves in the baseplate that slide over the pucks and brackets in the toe area to convert to touring mode.
These bindings are the best option for splitboarding because they’re lighter than a conversion kit and well calculated to work with any splitboard. They come in different types and aren’t set up the same way regular bindings are. We’ll go over the types of bindings to look for and how to set up splitboard bindings below.
The best binding setup for splitboards is the one with the least amount of moving or breakable parts so you can avoid problems when you are out in the backcountry.
Type of Bindings and How They Differ From Regular Bindings
- Voile
- Spark
- Karakoram
- Union
- Phantom
Voile makes a universal kit that you can use to put your regular bindings on your splitboard (mentioned above), BUT this will make your board heavy. It is the most cost-effective way to go from a regular board to a splitboard, though.
How to Set Up Splitboard Bindings
The most common set up for bindings is a puck system, with rails in the base of the binding that slide over the pucks. There are two ways to set up splitboard bindings:
Spark: A lot of splitboarders prefers spark because they have the most simple and easy to use system.
Karakoram: Karakoram uses a disc system similar to pucks but the bindings click in through a disc plate. This is awesome when things are going right, but if snow gets stuck on the disc plate, it can be a problem (get ready to take your glove off to push the snow out of the way).
What are Touring Brackets
Touring brackets lock the binding or the toe of the boot (on a hardshell splitboard or AT Ski boot) while in ski/uphill touring board. These are locked into place with snap ramps or pins.
They allow you to free heel your motion forward, similar to a cross country skier. Touring brackets make for quick and easy installation and removal.
What are Climbing Wire and Heel Pads
Climbing Wires help you go up the hill when in ski or touring mode. They force your body and weight forward when climbing uphill. Typically, they are two settings on the wires, a lower angle for going up not as steep of terrain and a higher angle for steeper slopes. These can be easily switched.
Heel pads keep a binding with integrated climbing wires to catch the climbing wires at a specific angle and allow the wires to rest on a board without damaging it. Other heel pads will have the climbing wires built in. Both are easily mounted to the inserts on the board.
Splitboard Skins
Splitboard skins stick onto the bottom of your skis and help you grip the snow while you’re climbing up a mountain in touring mode. They are made of directional hair/fabric that provides friction in one direction and glides in the other (pretty sick stuff). They allow you to climb or move uphill without sliding backwards.
How to Choose the Right Skins for Your Splitboard
You can find skins for your splitboard in many places since splitboarding is totally popular. Our favorite skins are from Voile, which are the most durable and reliable. Their only downside is that they’re slightly bulky and a little heavier. G3 skins are also great and definitely have the best glide, pack down small and have great tailclips. They’re also way lighter than Voile skins.
How to Trim Skins
Skins don’t universally fit all boards. They have to be trimmed to fit your specific splitboard. That’s why most skins come with a razor tool you can use to follow the edge of your board for a perfect fit. If you don’t have that tool for some reason, you can just use a fresh razor blade. Using your own blade won’t be as smooth as using the type of blade that comes with the skins, though.
Adjusting and Attaching Tail Clips
Tail Clips attach your splitboard skins to the tail of your board. These clips are used for long days of traveling through the backcountry, where snow will inevitably make its way between the skin and the board. Using the clips, you can keep that adhesion super tight.
A lot of skins come with these tail clips, but if yours didn’t you can buy the tail clips separately and attach them to the tail of your board with rivets.
You want the skins to be as snug as possible to keep that snow out. When you adjust the tail clips make sure they have a good bit of tension. You did it right if it’s slightly difficult to hook to the tail. This gives you the most grip possible for your ascension up the mountain.
Taking Apart a Splitboard and Putting Back Together
Taking apart your splitboard is a five-step process (outlined below). Putting it back together is that same process just reversed. It might seem like a lot at first, but soon you’ll have it memorized and be easily able to switch between touring and snowboarding mode.
Taking Apart a Splitboard for Uphill/Ascent/Touring Mode
- Remove your bindings
- Unlatch the tip and tail clips
- Separate the two pieces of your board and make sure you’re in a flat area—if you’re not in a flat area, one piece of your board will go sliding down the hill and you will have many, many regrets
- Attach your bindings to the touring brackets
- Attach your skins
- Go tour!
Be prepared for hooks to be a bit troublesome to separate at first. This is normal and just because they’re so snug to your board. After a few times, they’ll break in and move together and apart a lot more easily. Here’s a video on how to detach and reattach your splitboard:
Putting Together a Splitboard for Downhill/Descent/Riding mode
It’s time to cruise. To put together your splitboard so you’re in snowboard mode, just reverse the steps of taking it apart.
Be careful here. Being methodical while converting to snowboard mode helps you avoid forgetting pieces or losing them down the hill. You’ve worked way too hard to get up here to lose your chance of an enjoyable ride down.
Frequently Asked Questions
Do splitboards ride like regular solid snowboards?
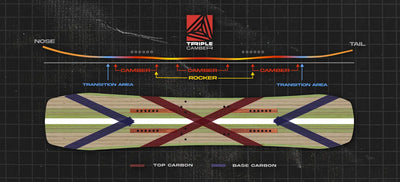
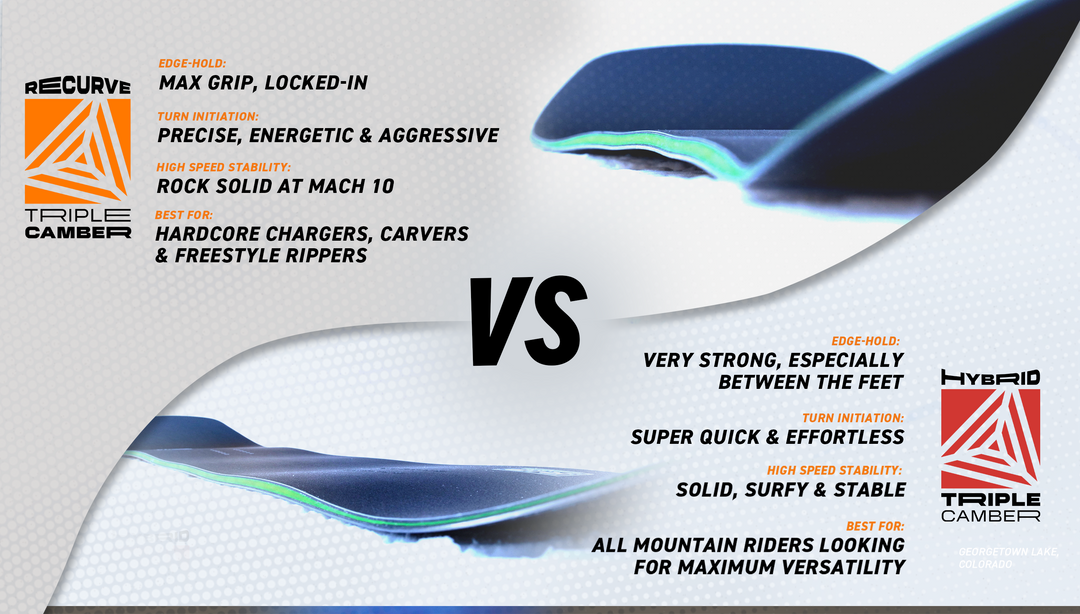
Never Summer uses a Rocker Camber profile on our splitboard to make it lightweight underfoot, nimble, and easy to turn. That’s the key to making a splitboard feel like a solid board and it’s all thanks to our Phantom Hercules hooks. That’s the good stuff that secures the halves together super tight to give it that solid feel.
Can I use my normal boots in a splitboard binding?
Yes, you can use your normal boots in a splitboard binding. Snowboarders who primarily splitboard usually have a vibram or high traction sole for climbing or hiking though, when you’re not in snowboard mode.
Splitboarding is a damn good time—and a new way to experience the mountain. It’s definitely for more experienced riders, but you don’t need to be at an Olympic level to enjoy the backcountry.


