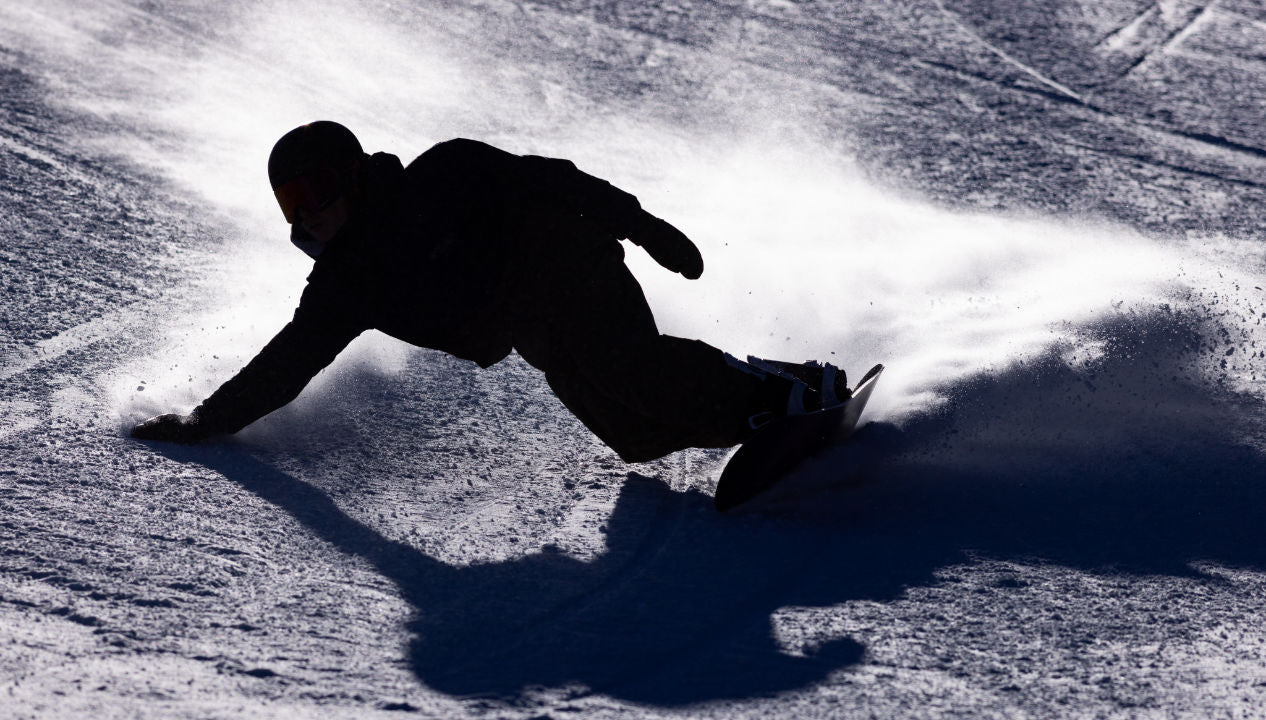
Carving is one of the most powerful and important snowboarding skills. By learning how to carve like a pro, you learn how to get the most out of your snowboard’s edges. In the end, you will have better control and get less fatigued by letting your snowboard do the work for you.
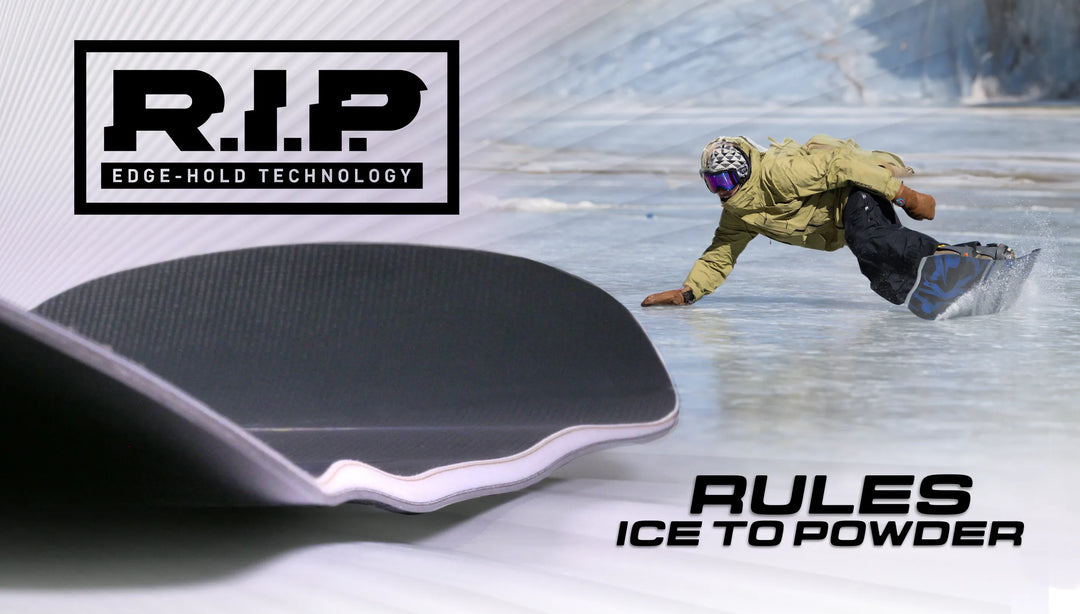
Especially when it comes to shredding icy conditions and hardpacked snow, being able to use your edges at all times is critical. In fact, carving gives you more confidence in your overall riding abilities, which will lead to improved skills with things like jumping and spinning.
If you are just learning how to carve on a snowboard, Never Summer put together this brief guide.
What are the Best Snowboard Features for Carving?While you can carve on any type of snowboard, certain models are engineered specifically with carving in mind. For example, a powder board built for soft conditions will not do as well carving as a racing board designed for hardpack.
There are a few key design features to consider that make a big difference in whether a board is good for carving.
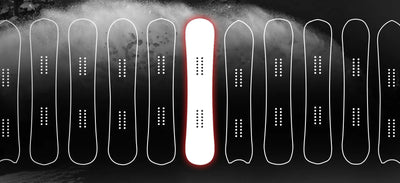
Directional ShapeA good carving snowboard should have a directional shape. This means the snowboard is meant to ride in a single direction – that being with the nose pointed downhill. Because boards with directional shapes have wider noses and narrower tails, they give you increased control transitioning between edges.
StiffnessThe stiffness of a snowboard is one of the most important design features for good carving. Importantly, good carving boards are stiff enough that they don’t rattle on the hardpack and ice. With a damp design, a carving snowboard will remain stable under high speeds, so you always have maximum control.
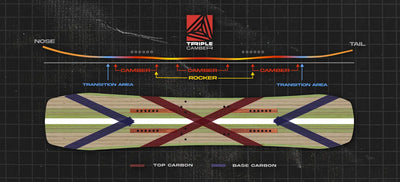
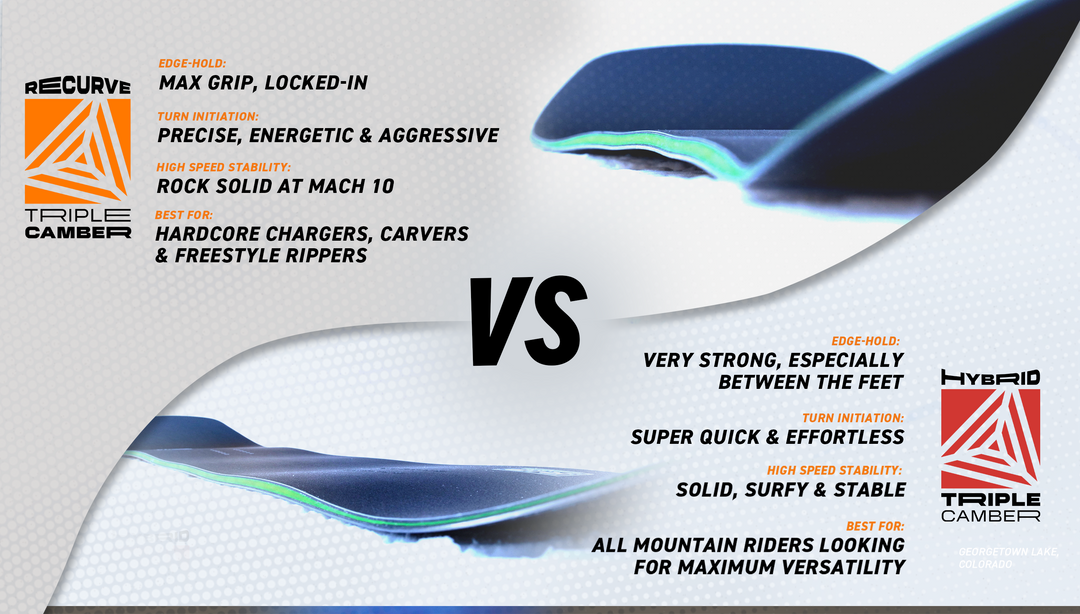
CamberSnowboards built with carving in mind generally have a hybrid rocker-camber camber shape. With this curvature, your snowboard gets extra stability, a quick response when turning from edge to edge, and provides three contact points on snow or four contact points with our Triple Camber Proto FR. When combined with a stiff design, our camber shapes will give you maximum control in just about any condition.
How to Carve on a Snowboard for Beginners
To start learning how to carve on a snowboard, find a nice easy green run to practice on. Be sure that the trail is good and wide and doesn’t have much skier traffic to worry about. While your practice run shouldn’t be too steep, it should have enough of an angle to let you pick up decent speed.
You also need to learn how to carve toeside on a snowboard vs heelside.
When you begin to make your way downhill, crouch down slightly. With your knees bent and body low, you have a lower center of gravity and more sensitivity to your snowboard’s edges. Remember, slight movements go a long way on a snowboard, so try not to overdo it on your motions
For a heelside turn, pull your toes upward toward your shins, while also bending your knees as if you were sitting down. This motion will raise your toeside edge off the snow and cause your heelside edge to carve into the slope.
When doing a toeside turn, push your toes away from your shins and straighten out your legs a bit. With this simple motion, your heelside edge will lift while your toeside edge cuts into the snow.
If you keep your body still, your snowboard will do the rest of the work in completing the turn. As you finish the motion, you will find yourself riding across the slope. Once you feel comfortable again, repeat the carving motion but on the opposite side.
Never Summer Snowboard Carving Tips
Once you learn how to carve fast on a snowboard, you will have ultimate control on the mountain. The team at Never Summer is happy to answer any questions you might have about how to carve on a snowboard. Feel free to Contact Us at any time.


