What’s The Proper Setup For My Board?
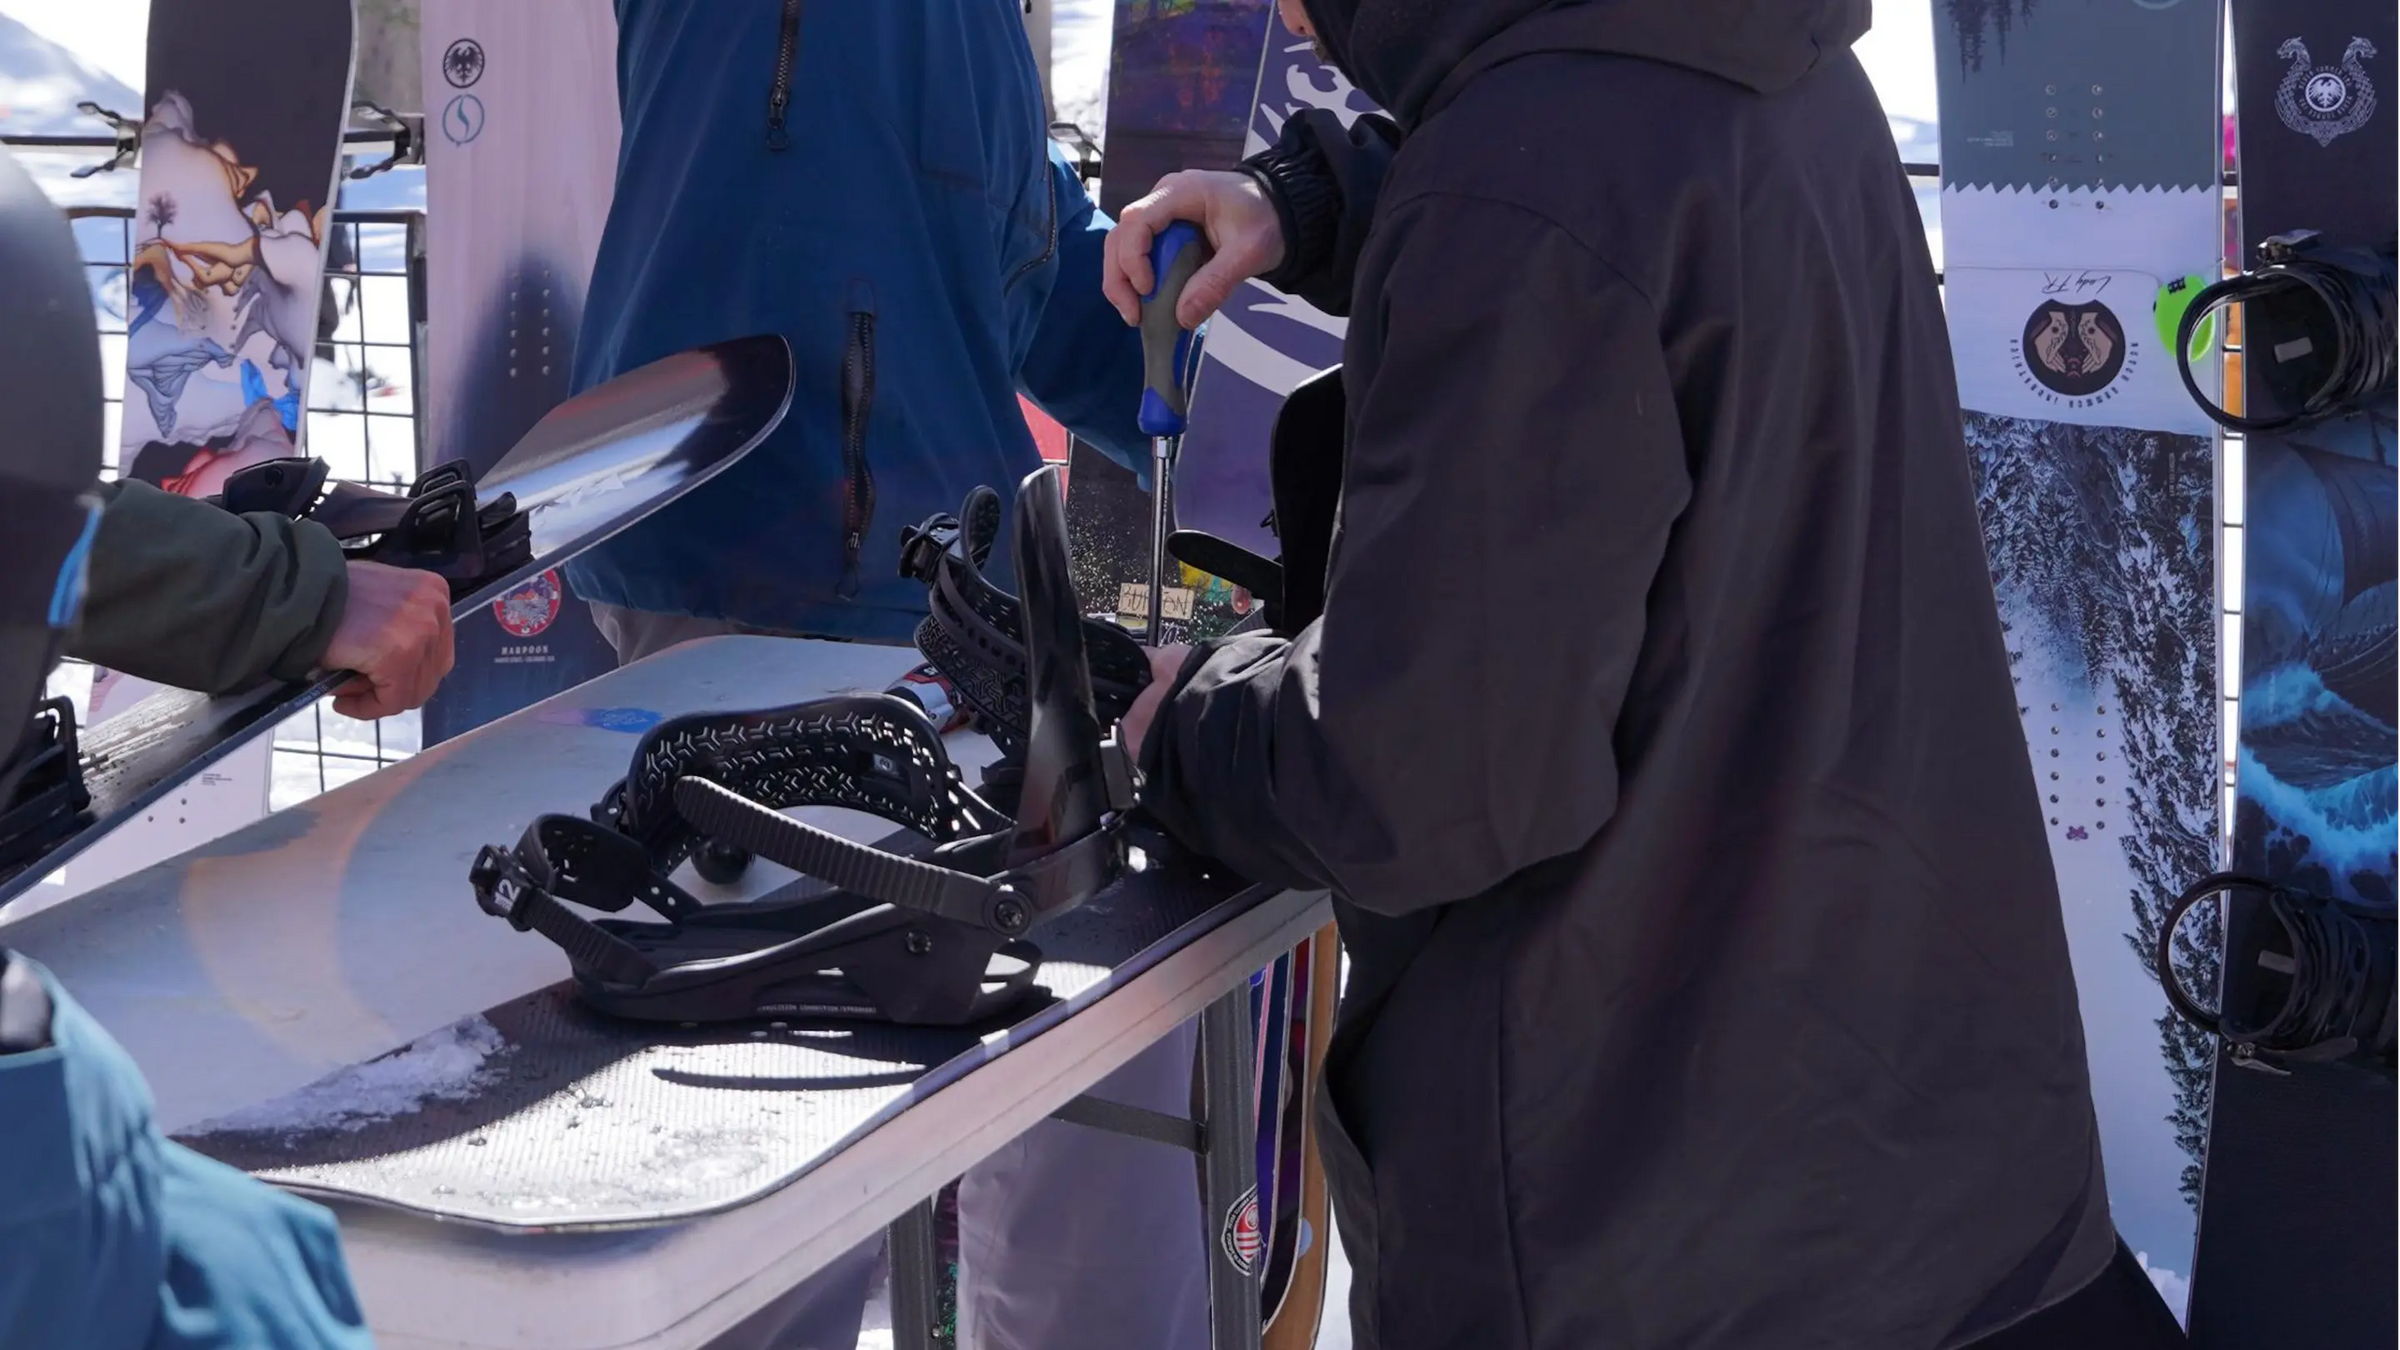
Getting the proper setup for your board requires the right stance, bindings, and boots. You can’t do much on the mountain if your feet are squeezed into boots too small and your stance is too narrow. That’s why this is an essential part of choosing the right snowboard…you want to personalize the snowboard to be ideal for your body.
Let’s take a look at stance, bindings, and then boots.
The Proper Stance Setup
Your stance is how you stand on your board and there are 2 types of stances to choose from, either a Regular Stance or a Goofy Stance.
Here’s the difference between the two stances:
• Regular Stance: Left foot forward
• Goofy Stance: Right foot forward
If you’re not sure what foot you’d prefer to have forward, find a hardwood floor, put socks on and go in for a slide on your feet. You can also position yourself to do a cartwheel. Pay attention to which foot is in front. Whichever foot you put forward is most likely the best foot to have forward on your snowboard.
Now that you know if you have a Regular Stance or a Goofy Stance, let’s look at your Stance Width. How far apart are your feet from each other when you’re on your board?
When it comes to Stance Width, taller riders have a wider stance and smaller riders have a more narrow stance.
• Wide Stance is best for taller riders
• Narrower Stance is best for shorter riders
Your stance is where you feel most comfortable and in control of your board, without having your feet too close together or far apart. If you are unsure, a good starting point is to measure your shoulder width and adjust your stance width to that.
The Proper Binding Setup
There are 5 ways to position your feet on the board for a proper binding set up:
• Centered
- Bindings positioned allowing for an equal amount of nose and tail on the board. This is favorable for riding switch or backwards and freestyle snowboarding.
• Directional/Set-back
- Bindings are positioned set-back from the tip of the board. This is so you have more nose than tail for powder riding and directional performance. This is a common set up for freeride and many all-mountain boards.
• Ducked
- Both feet are pointing slightly outward, front foot at a positive and back foot at a negative angle. This is the most common stance in snowboarding today and works for a wide variety of styles and types of snowboards. It also makes it easier to ride switch stance and minimizes toe/heel drag.
• Positive Angled/Power Carve
- Both bindings are angled forward on the board. This stance is used by riders who like to carve and more commonly used on alpine or freecarve boards. Angeling the bindings forward eliminates overhang and puts a rider more forward or down the fall line of the mountain. It is not advantageous for riding switch stance or freestyle.
• Old School
- 0 degree on back foot and angled forward on front foot. Tried and proven but not as common as it used to be.
Once you know where you’ll position your feet on your board, you’ll figure out your binding preferences for your base plate. There are 3 types of binding preferences:
• Response: A stiffer base plate for freeriding, giving you more stability
• Freestyle: a mid-flex base plate that allows for a natural flex so you can go from freeriding to freestyling
• Surfy: A softer base plate for powder and freestyling
The stiffer your base, the more stability you’ll get which is why these are great for freeriding and cruising at faster speeds. The softer your base, the more flexibility you have making it great for freestyle riding.
Alright, now it’s time to put some boots in those bindings…
The Proper Boot Setup
Just like with your bindings, there are stiffer and softer boots. And, just like with your bindings, they are stiffer or softer for the same reasons. Depending on your riding style, you’ll choose the boot that best fits your riding style.
• Stiffer boots: Great for response and stability making them ideal for freeriding
• Softer boots: Ideal for a natural flex and a surfy feel, making them great for freestyle riding
When it comes to the size of your boots, you want to make sure they’re not too big or too small. The best boot for you has your toes right at the end without any pressure points. The reason you want your toes right at the end is that once they’re broken in, they’ll pack out about half a size, so if you start with boots too big, they’ll be another half size too big once they’re broken in.
Now that we’ve covered the basics of choosing the right snowboard, we’ll cover the other features and types of boards you can take into consideration when grabbing your first board.
Don't Have time to Read It NoW?
Click the button next to this text to download your own PDF copy of Never Summer's How to Choose a Snowboard: The Ultimate Guide


